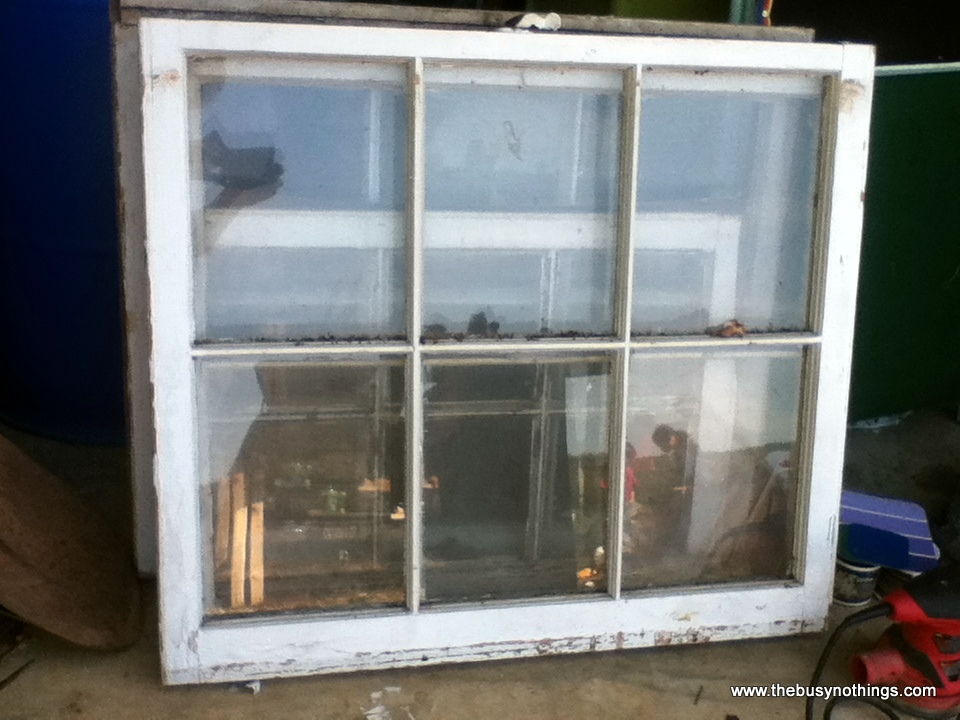
I decided to make the kids some chore charts that would be re-usable and also blend with the decor (or lack thereof) in my home. I was the fortunate beneficiary of some old windows, so they inspired this project!
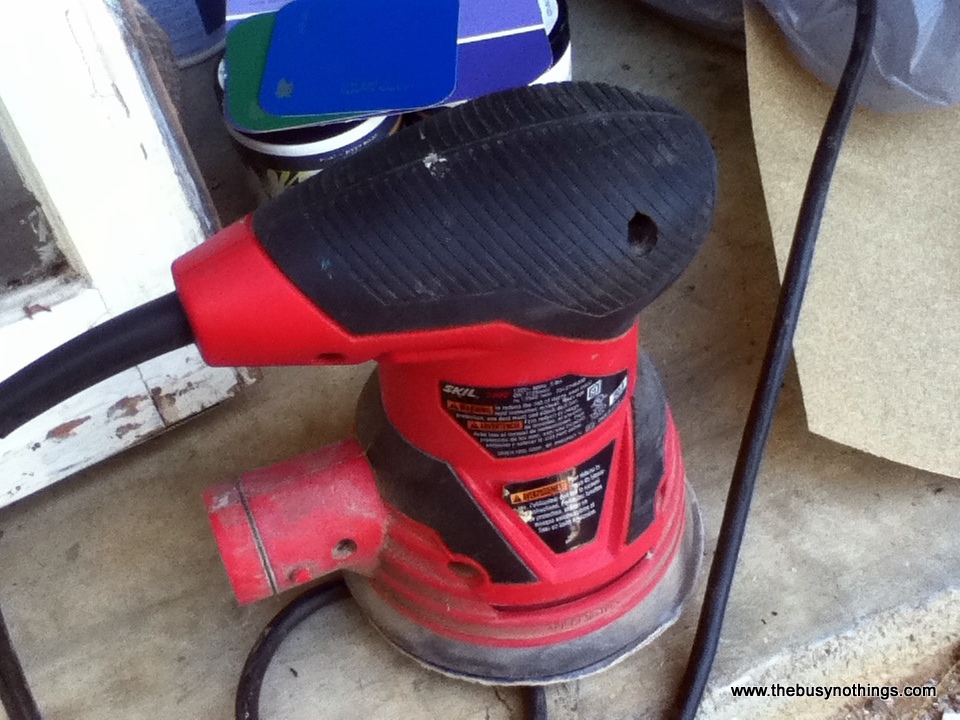
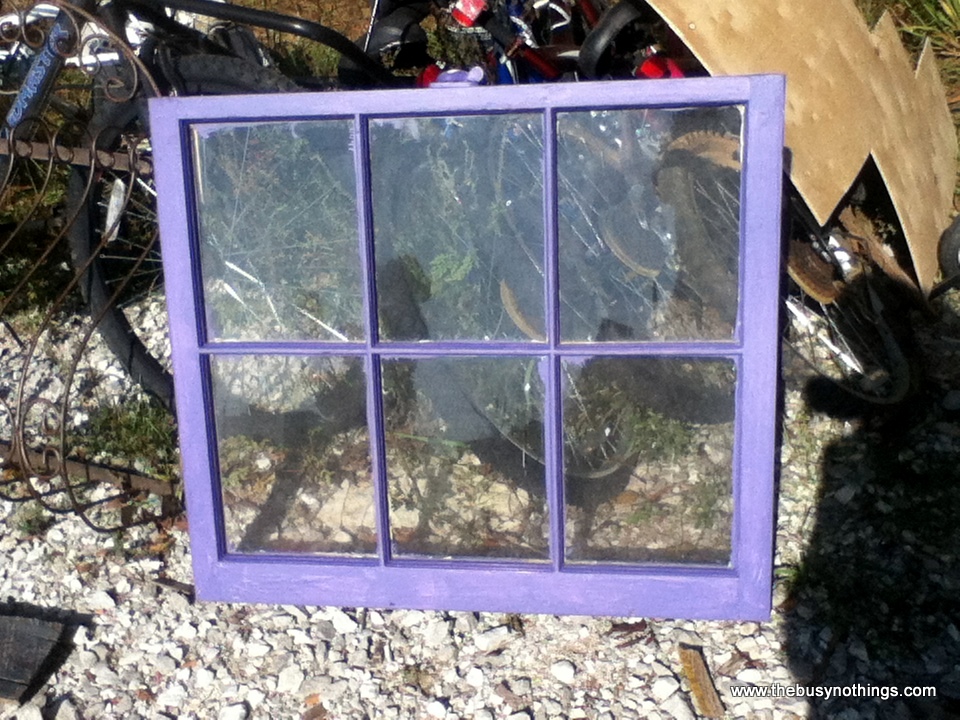
The first thing that I did was borrow my sister’s electric sander, and sanded all three windows to remove all the old chipped off paint.
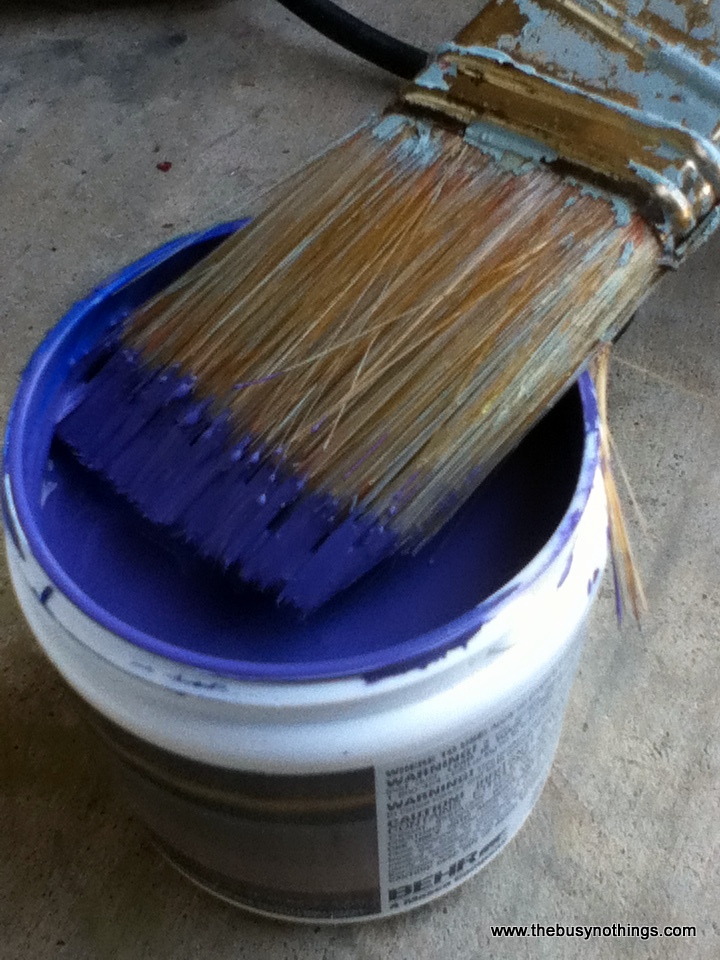
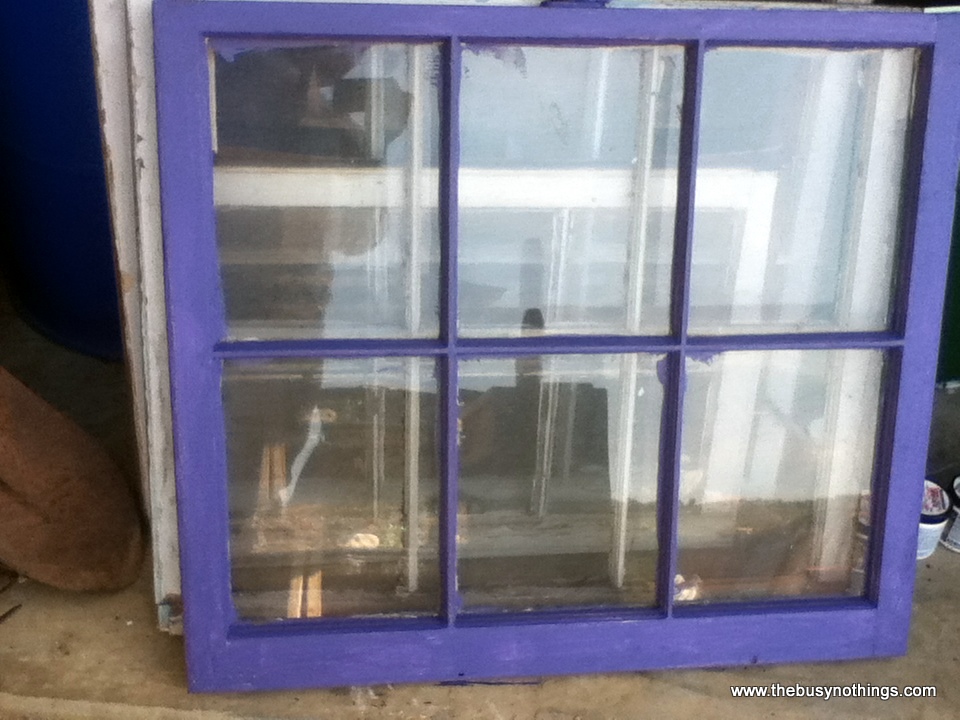
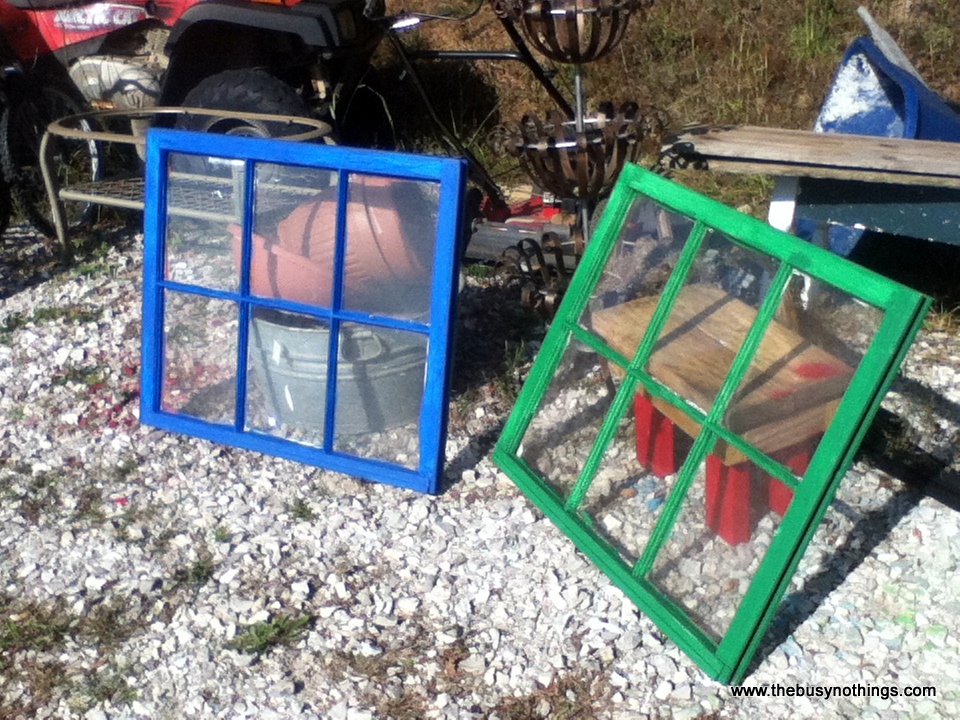
Once that was done, I painted just one coat of paint. Madison’s was purple, Garrett’s was green and Ethan’s was blue.
Once the paint was dry, I used sandpaper and removed some of the paint so that the old white showed through.
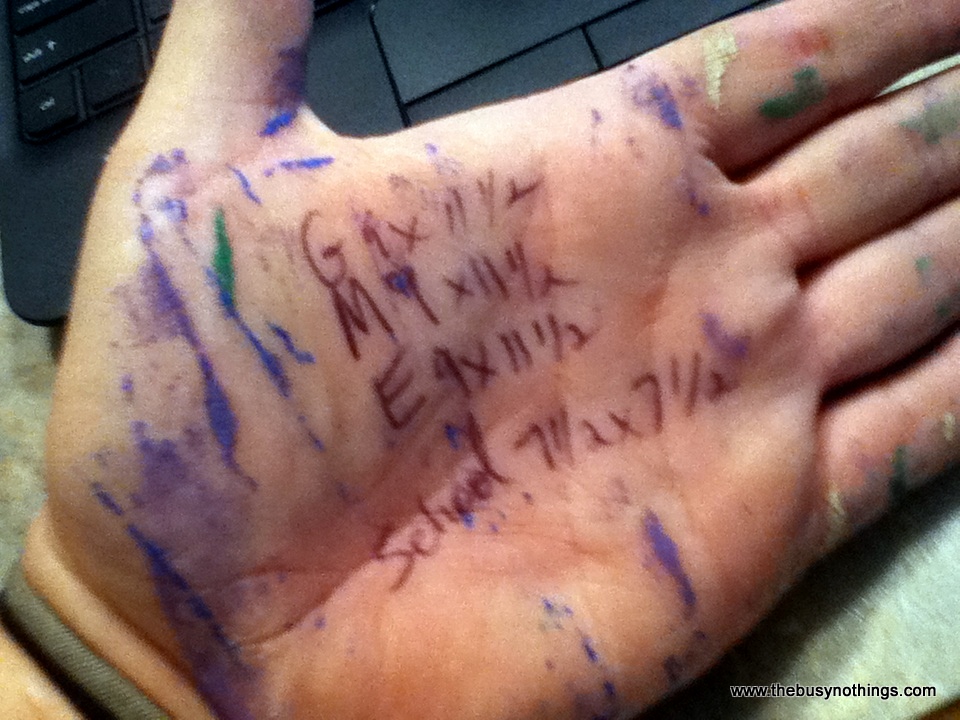
Then I went inside with the measurements of the window panes so I could cut some vinyl to fit!
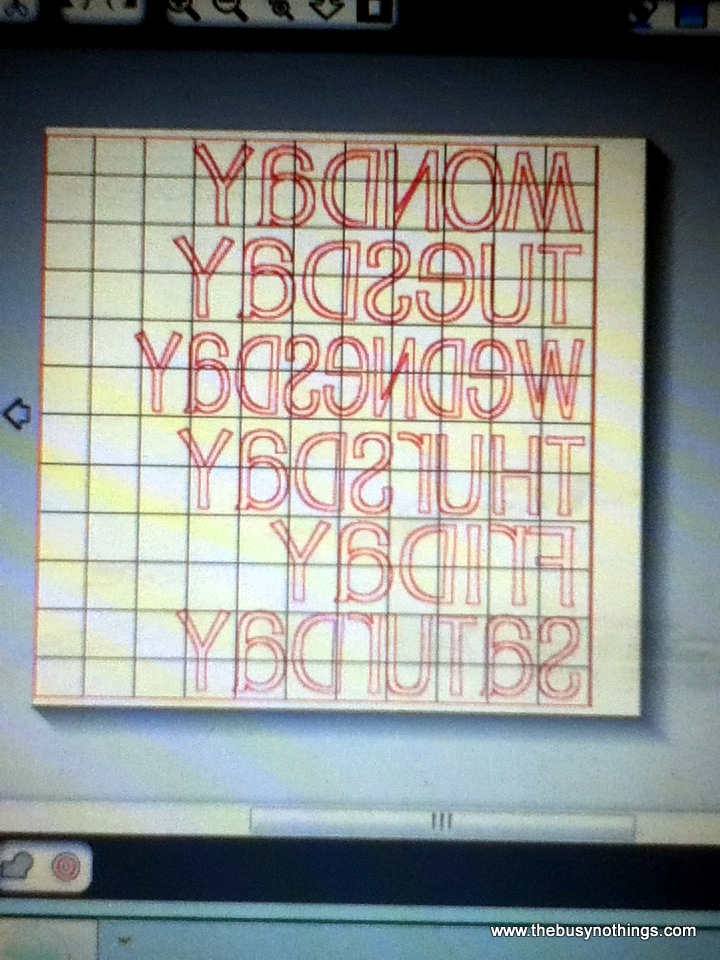
As you can tell, I was a tad bit anxious to get this project done! I used my mom’s Silhouette Studio software to design the layout for the charts.
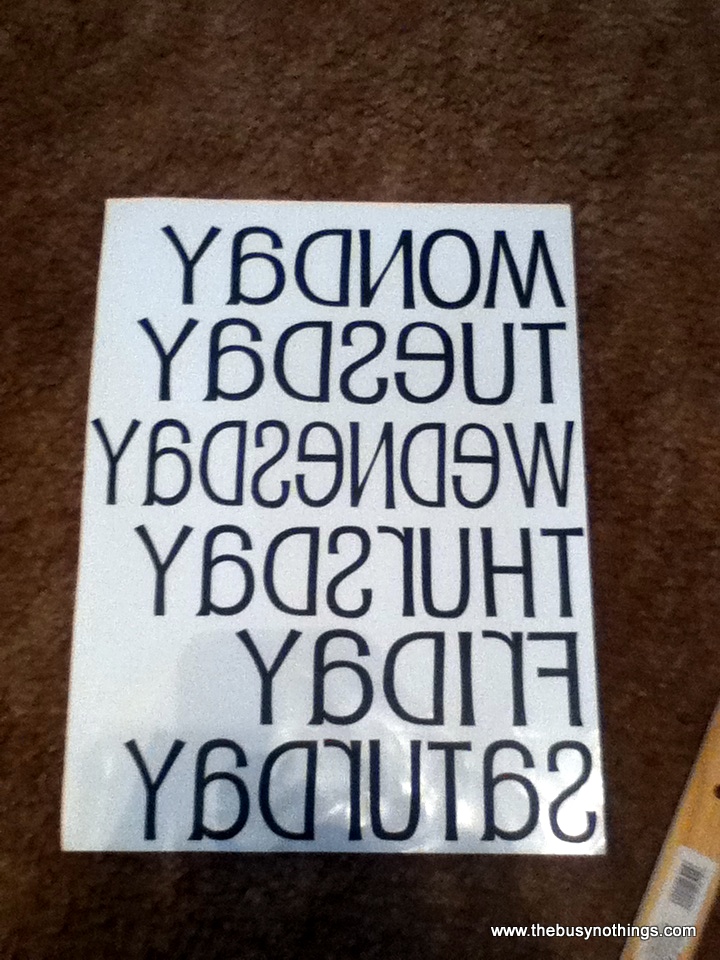
It was fairly easy, the software is user friendly for sure. I just chose the font and then typed in the days of the week. Once I got them typed, I mirrored the image so that I could put the vinyl on the back of the window.
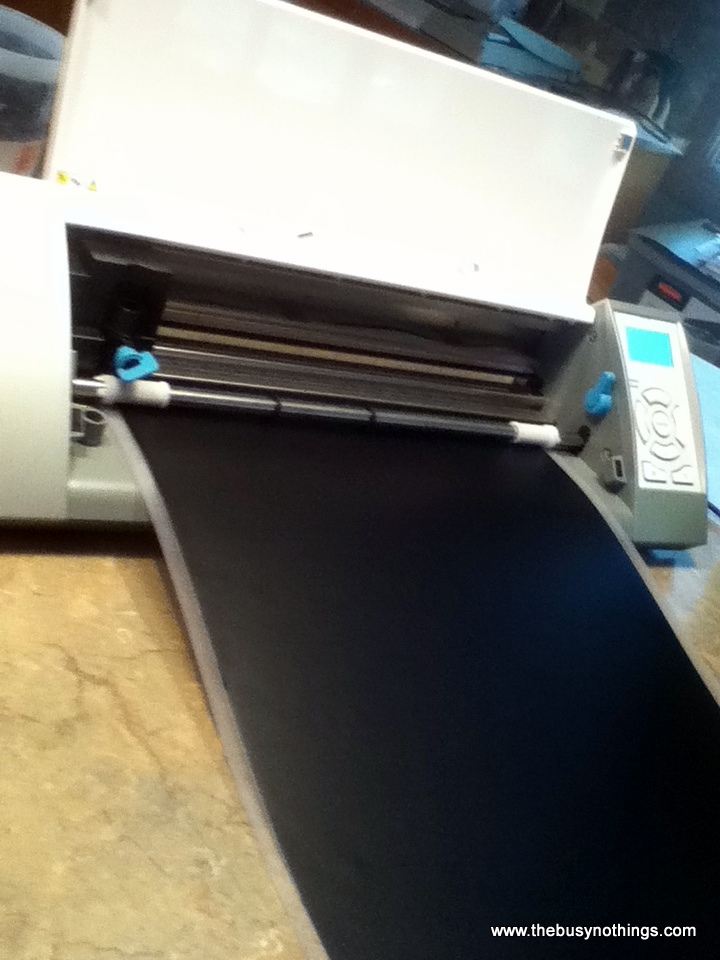
I put the vinyl in the printer/cutter and let it do the hard part.
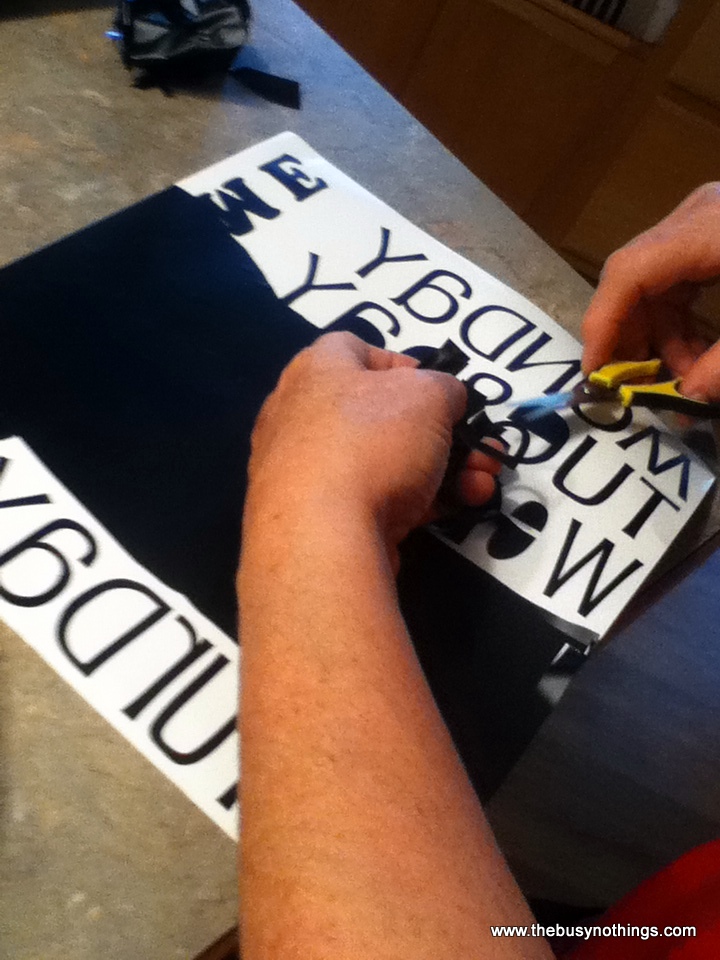
Once the letters are cut, all you have to do is ‘clean them up’ by removing all of the vinyl around them. Honestly, mom and I kind of fought over this part…it is so much fun!
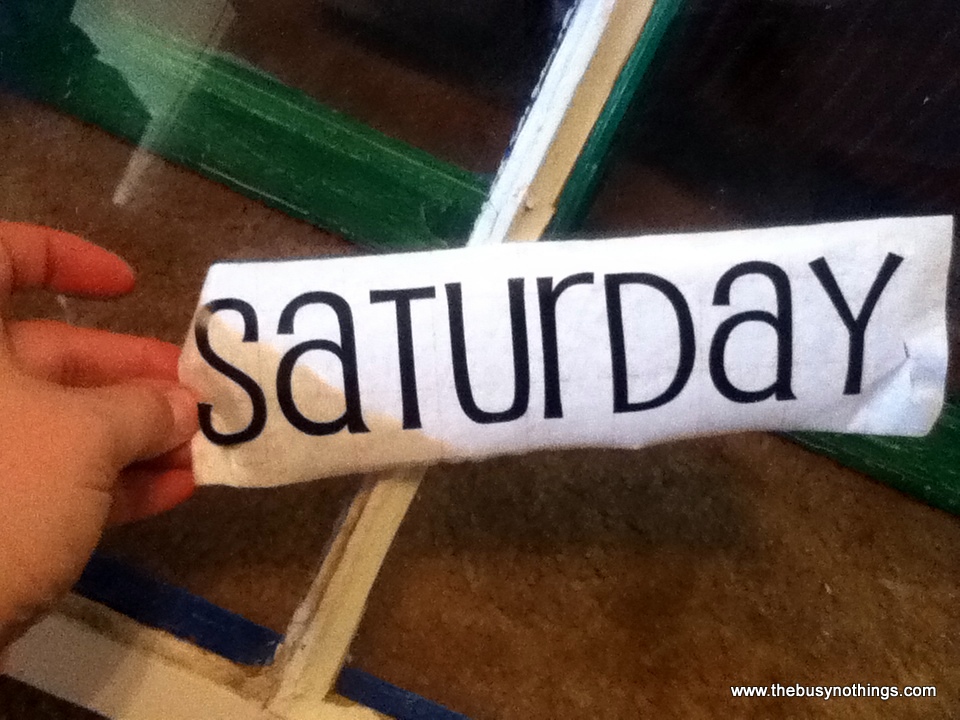
Once that was done, I cut the days into strips and applied the transfer paper to the vinyl.
Ta Da!
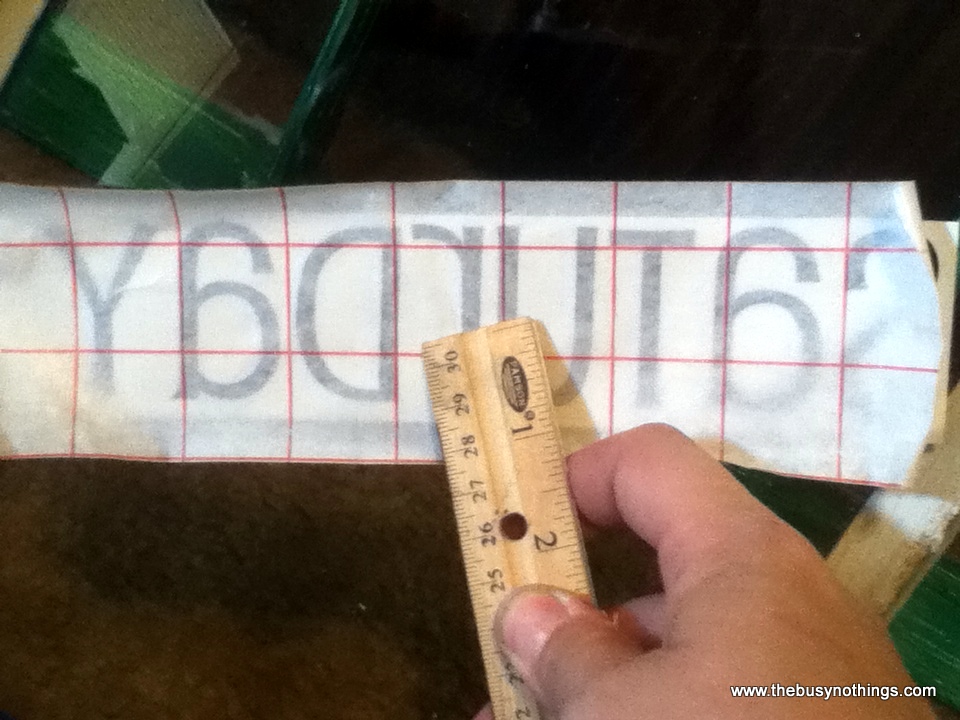
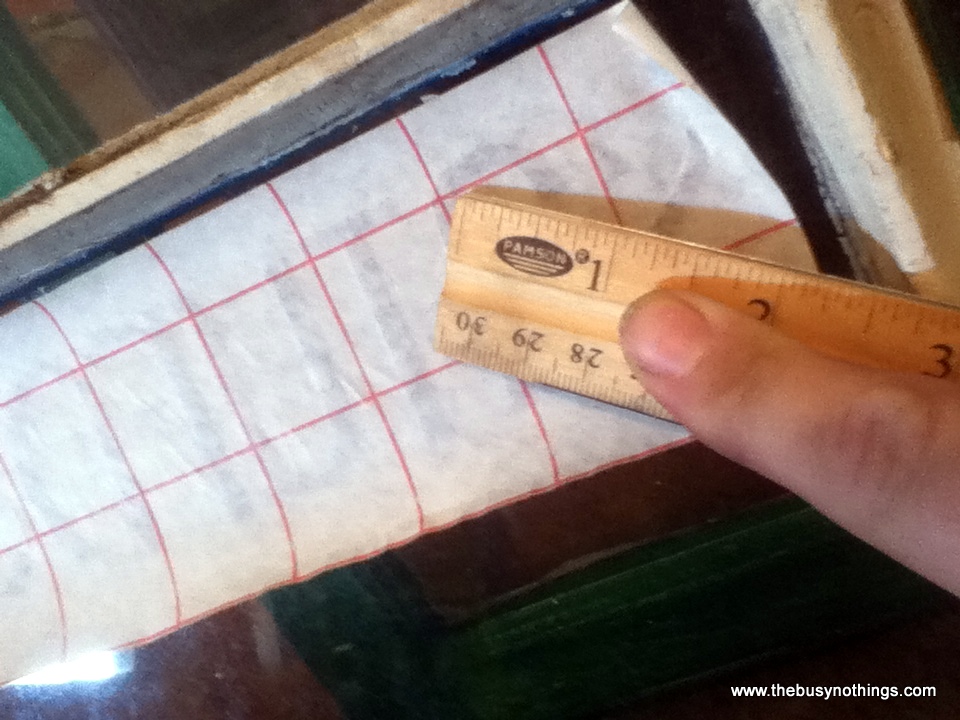
I then centered the letters in the glass pane and used a ruler to transfer them to the back of the glass.
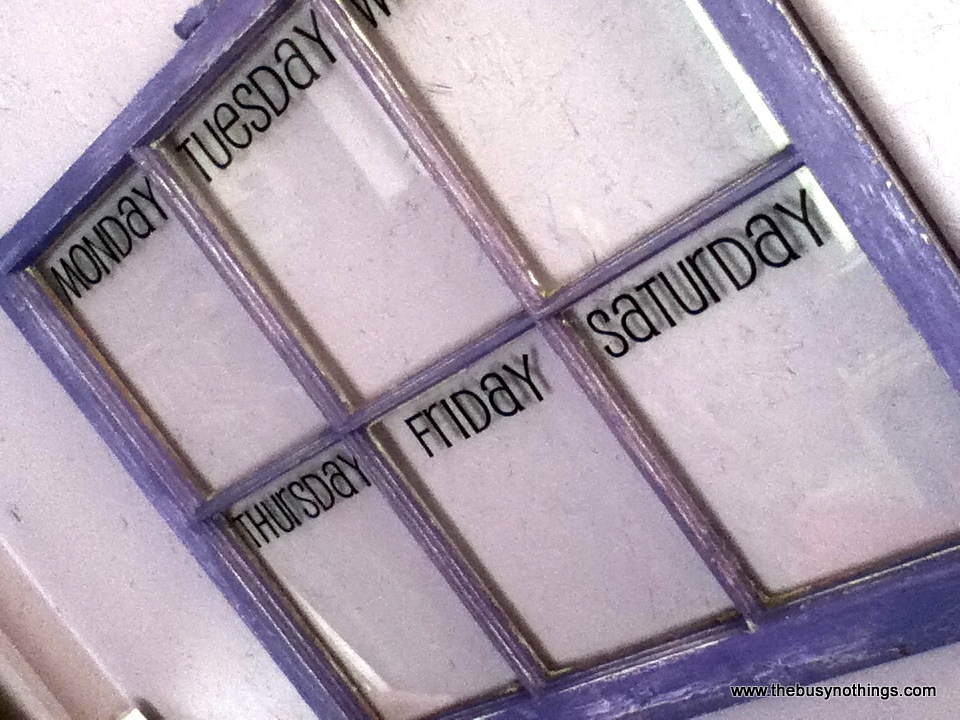
I was VERY pleased with the results!
Now you can write with a dry erase marker on each day what needs to be done, or add more vinyl to the back so they can just cross them off. The kids have really enjoyed these and being able to cross something off a list makes them more eager to do it! (Seriously, I haven’t had to ask anyone if they brushed their teeth!)


