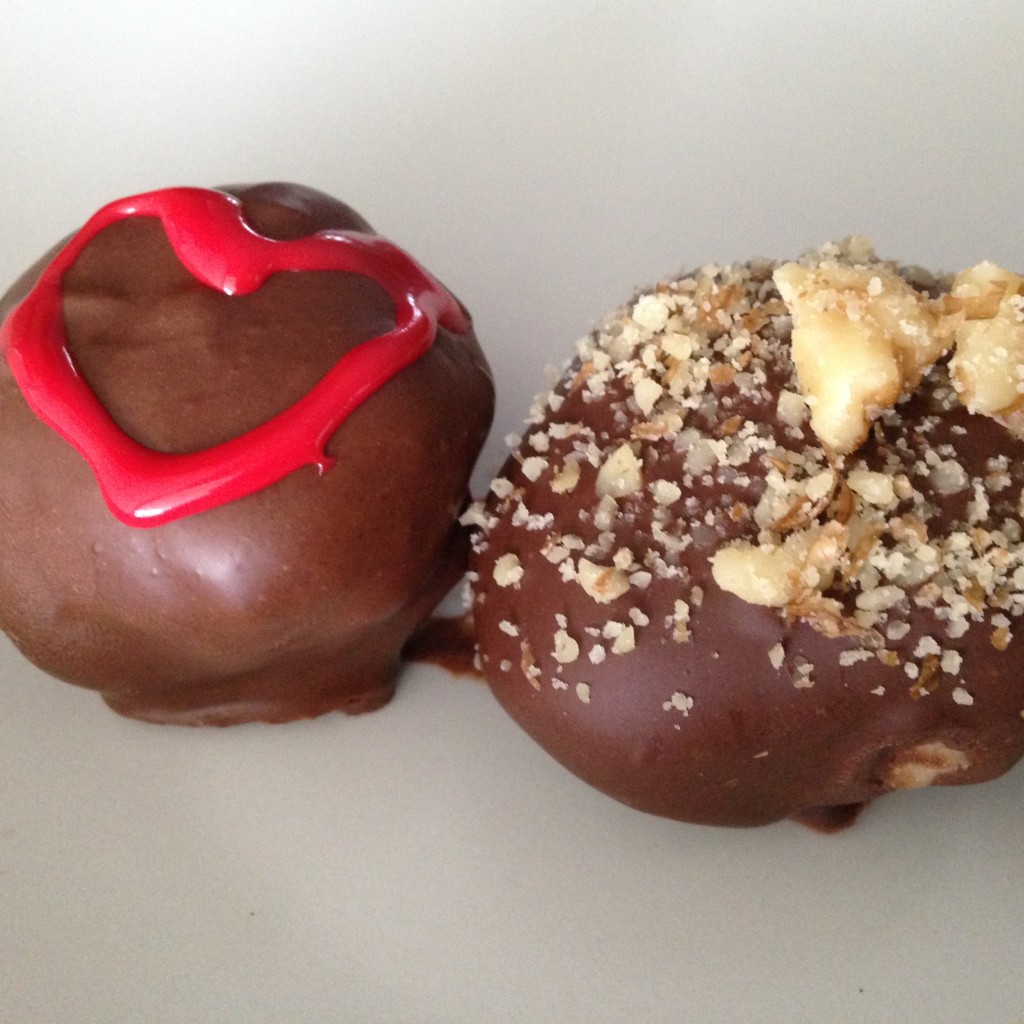
 This recipe was first published over on my instagram account- feel free to follow over there!
Happy Valentine’s Week!
I have a confession.
shhhhh…. don’t tell Ben but sometimes I use the kitchen as an excuse to have a break when I need one. I have always justified this because the results are typically pretty worthwhile and yummy– benefitting everyone, ya know?
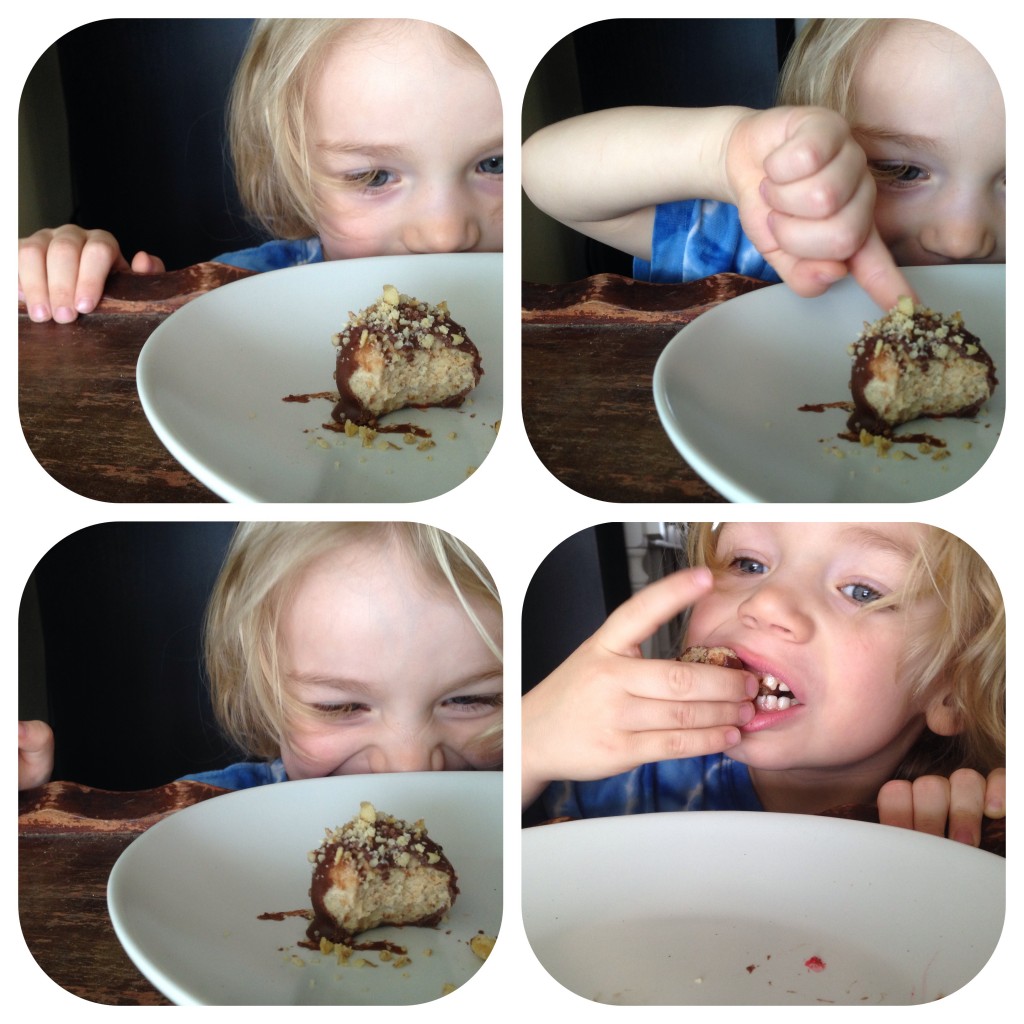
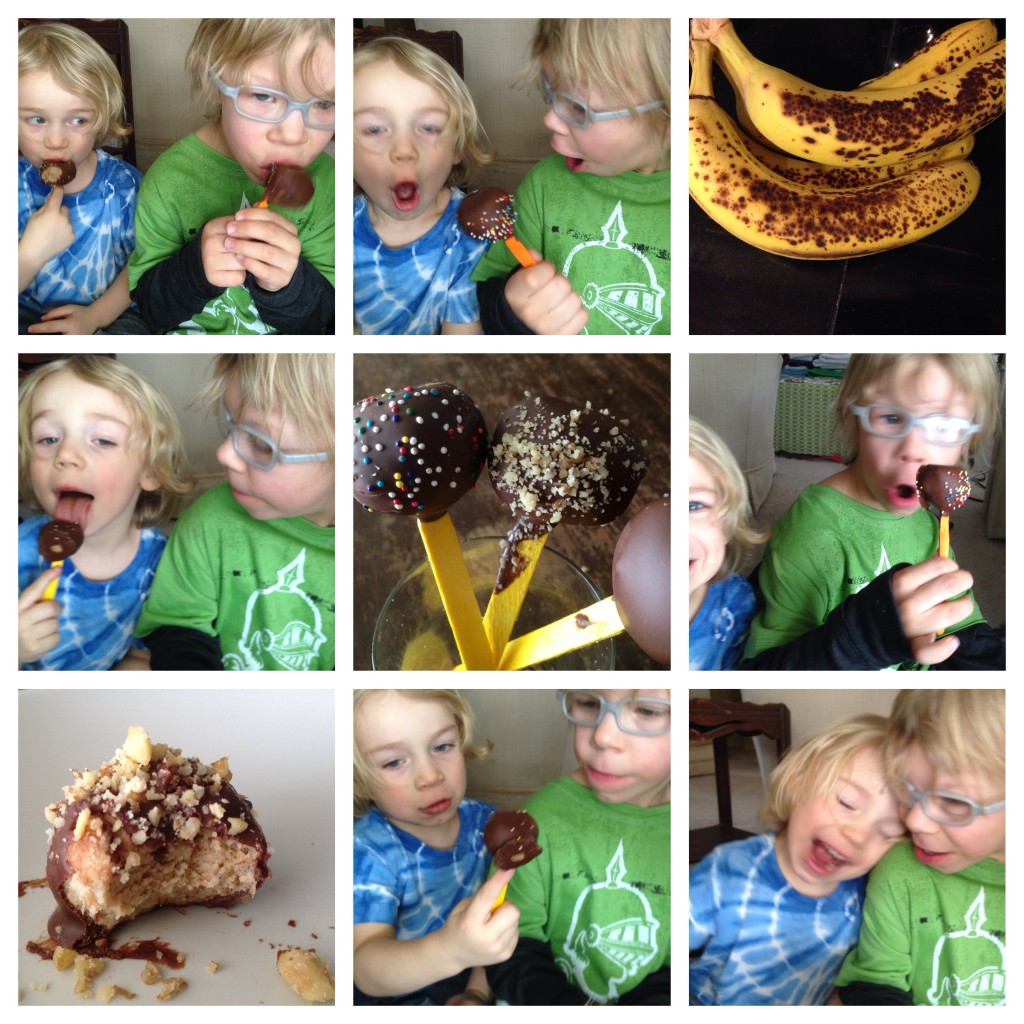
Recently, my 3-year-old, Bug, has wanted to help out in the kitchen. At first I was kind of like… NO, child. This is ME time. Then it hit me- he is such a precious child and only 3 for a few more months. Wouldn’t it be awesome if I was able to build in him a love for cooking? That way when I’m no longer cool (like I ever was…) and he’s a sassy pre-teen, this might be the thing that we do together. Every moment spent with him is not a moment wasted and this last Sunday when I needed a break and he asked so sweetly if he could help me… how could I say no?
Back to the Banana Bread Cake Balls… I don’t typically do this step-by-step bit but because this was originally an Instagram series, I have all the photos so I thought it might be helpful. Enjoy. This really is a fun recipe to make, easier than it looks and with the uniqueness of the cake being banana bread– it’s a fun treat for Valentine’s Day or any time.
Banana Bread Cake Balls
Have you ever made banana bread that didn’t turn out? Kid’s distracted you and it’s over done or dried out for whatever reason? SAVE your “fail” for a snowy day to make Banana Bread Cake Pops!
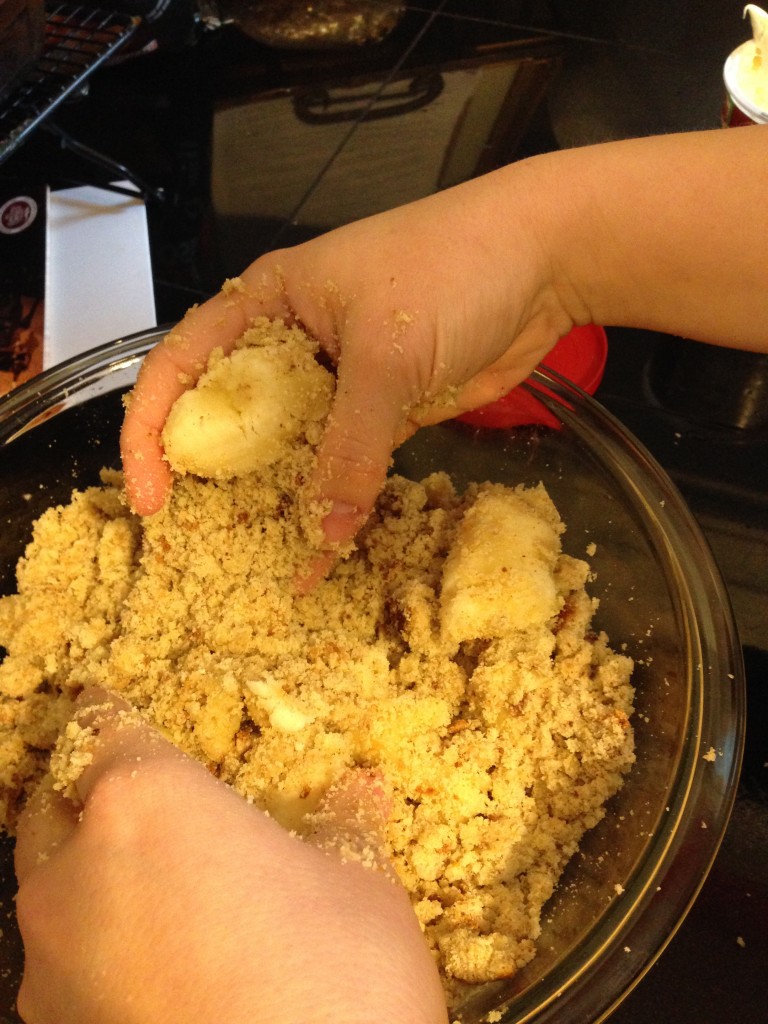 Step 1: Get a loaf of banana bread, the more dried out the better. (Mine had been in the freezer a few months and I let it sit with the plastic bag open as it de-thawed.) Crumble it into small pieces. Smoosh in 1-2 overly ripe bananas with your hands.
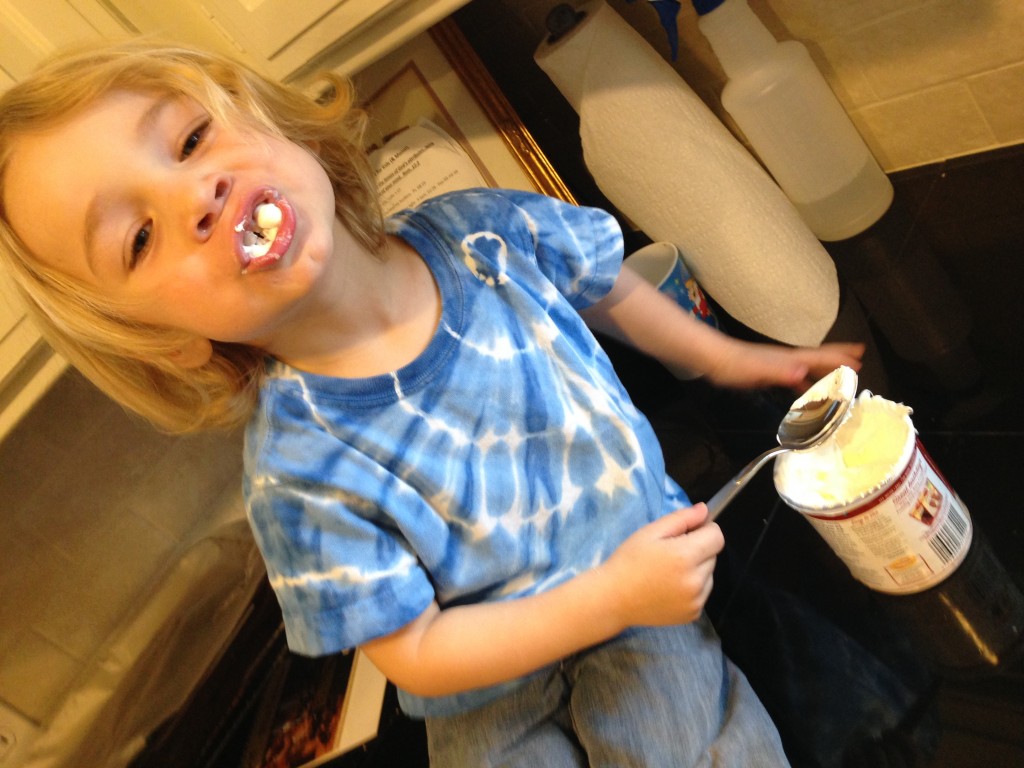 Step 2: Have your “helper” scoop out a generous spoonful of whipped cream cheese icing from a can. You can add more if the mixture is still crumbly and dry, but if you add too much the cake balls will be mooshy. (like all these technical terms?)
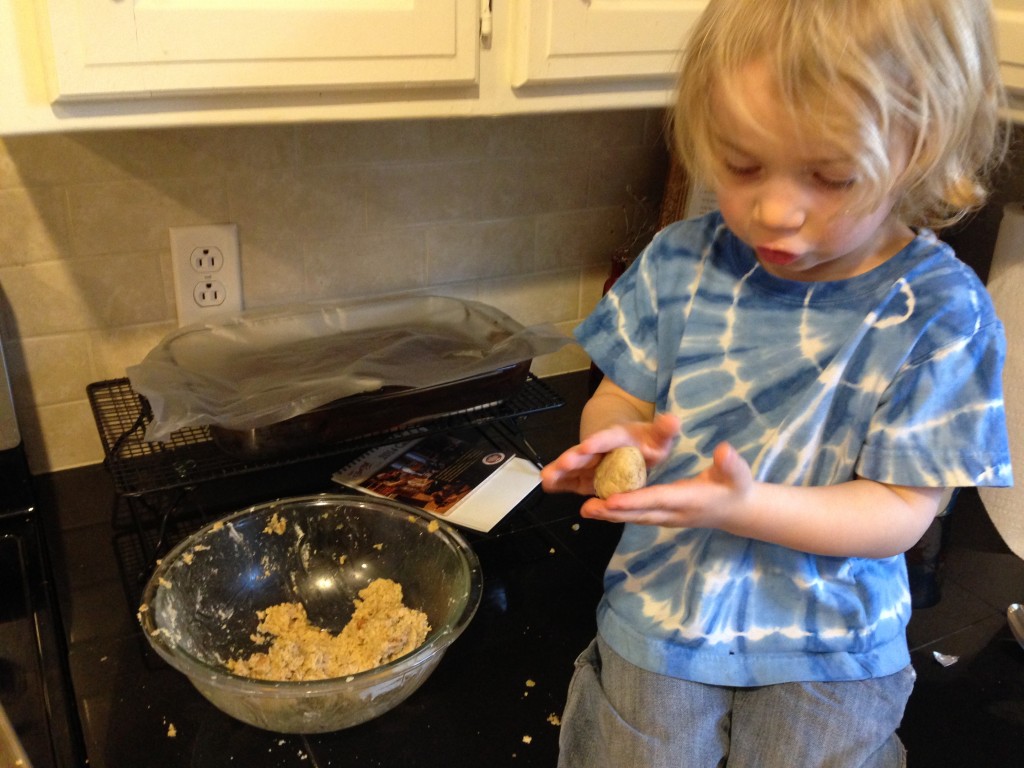 Step 3: Roll all the mixture into balls around 1″ in diameter. Place on cookie sheet and then into the freezer for about 30 minutes until they are firm.
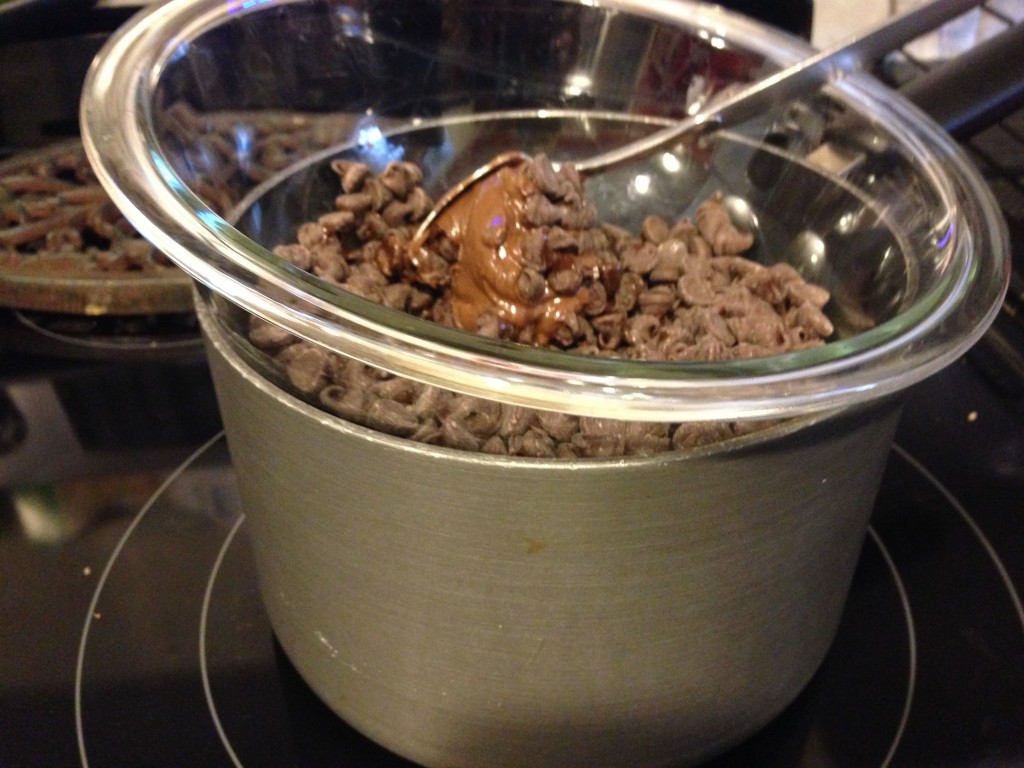 Step 4: using a “fancy” double boiler, melt about 2 cups chocolate chips, a scoop of Nutella (optional) and a small spoonful of crisco to make the chocolate meltier. Ree Drummond taught me that crisco bit- typically I’m 99% against crisco. :))*
*Update: I have since found out that butter and coconut oil can be used. I had bad luck with that- but use what you feel like.
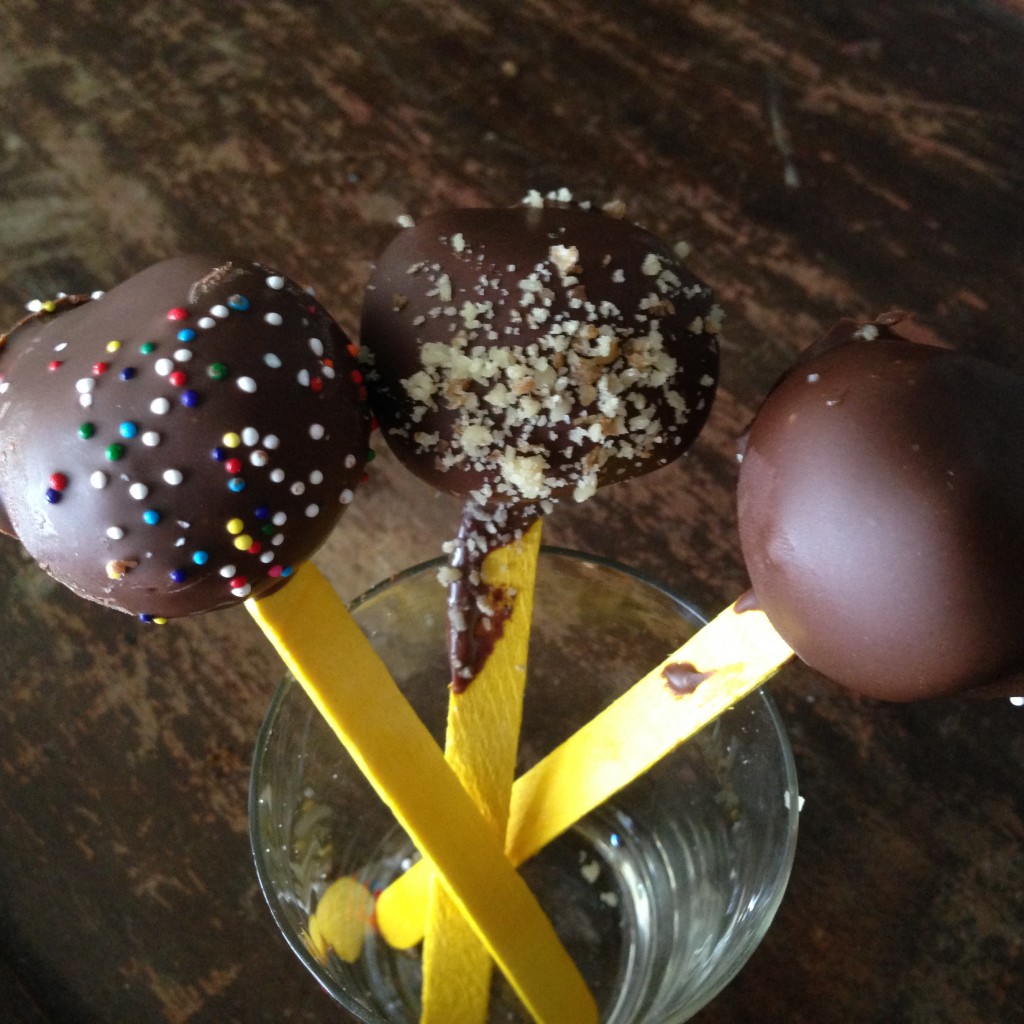
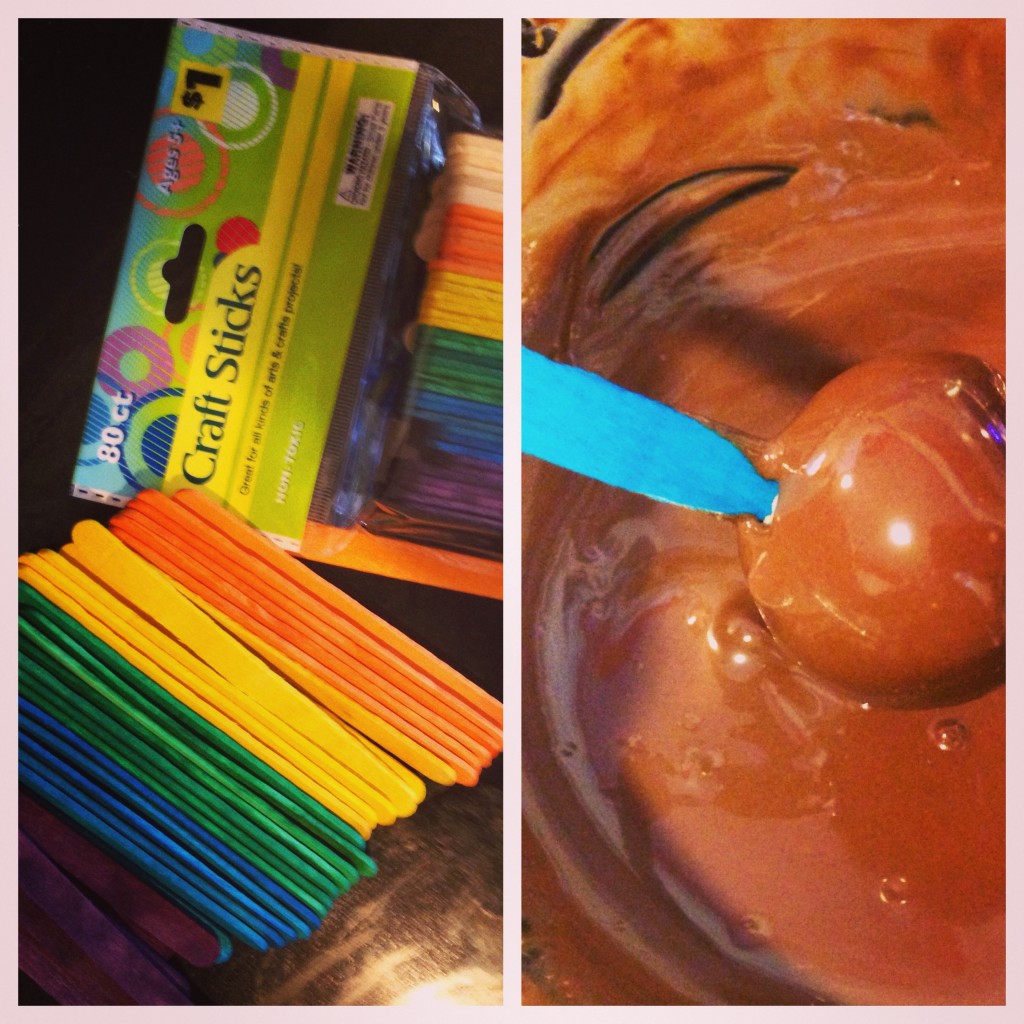 Step 5: Be willing to improvise when you send your husband for skewers and he comes back with craft sticks.
  Perhaps if I had put the balls on this before freezing them… However Ben snipped the end off creating a sharp end so I could dip some of them. I used a spoon to scoop melted chocolate all over and carefully turned them before placing on foil. (Wax paper works better!)
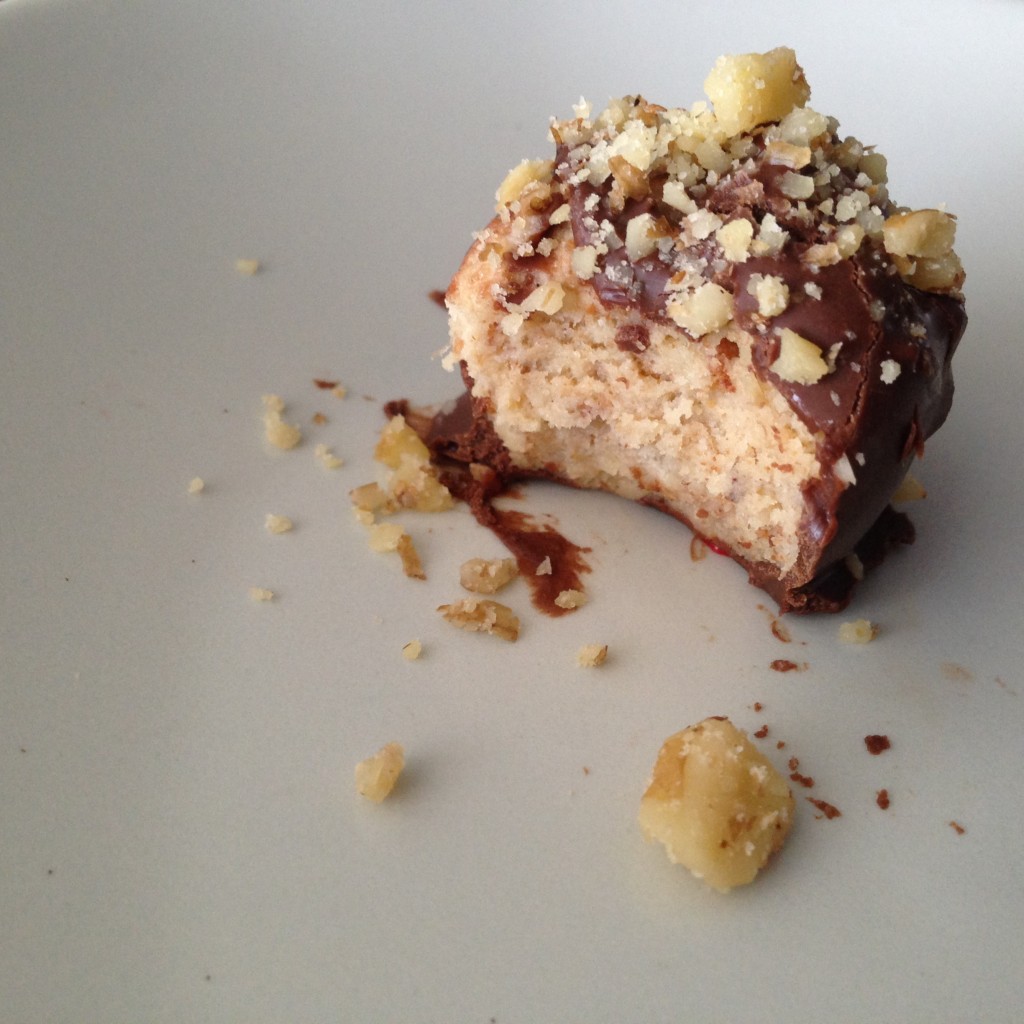
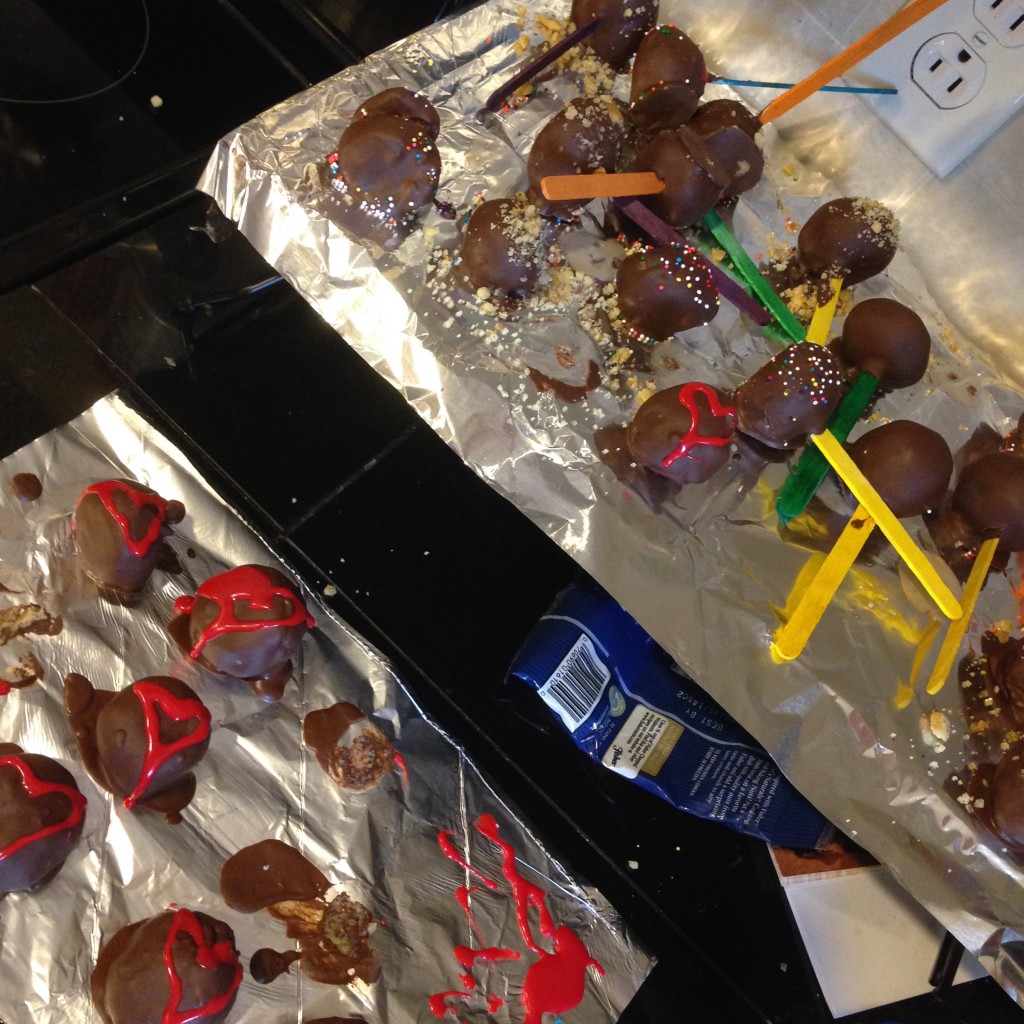 Step 6: Use different toppings- we used sprinkles, crushed walnuts and red icing for hearts – the chocolate hardens quickly so do it after 15 seconds but before 45 seconds. Realize if you let your kids help that there will be a big mess. It’s totally worth it though!


